Application Guide
Housewrap and Wall WRB Installation Guide
A practical wall-housewrap installation reference for continuous water management, window flashing and cladding-ready exterior wall assemblies.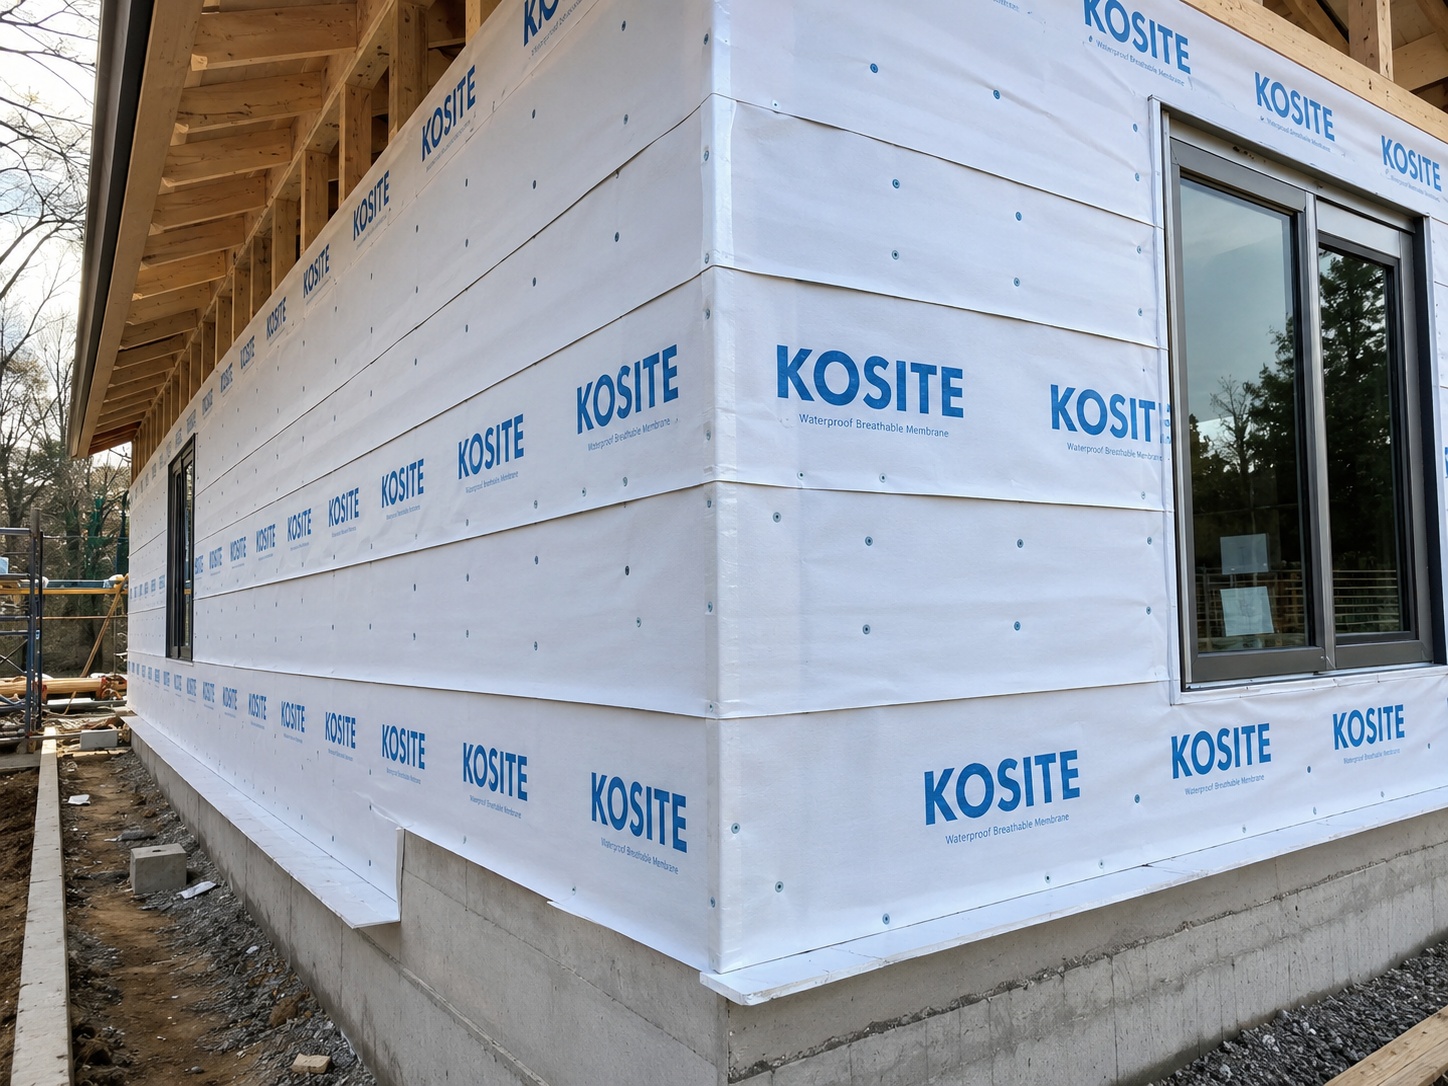
Key Points
Housewrap is installed behind exterior cladding to help shed exterior water and support controlled drying within the wall assembly. The image on this page shows KOSITE membrane installed continuously over a framed exterior wall before the final cladding is applied.
- Confirm the frame, sheathing, insulation, drainage cavity and exterior cladding before selecting the WRB.
- Review water resistance, vapor permeability, mechanical durability and tape compatibility together.
- Install a continuous membrane layer around openings, corners, penetrations and wall transitions.
1. Wall-system checks
- Confirm timber, steel-frame or masonry wall build-up and the position of sheathing and insulation.
- Confirm the drainage cavity, exterior cladding type and expected construction exposure period.
- Define whether the selected product is only a WRB or is also expected to contribute to air-control continuity.
2. Installation sequence
- Install from the lower wall area upward so upper sheets lap over lower sheets in the drainage direction.
- Integrate sill, side and head flashing at windows and doors with the membrane drainage plane.
- Seal penetrations and repair cuts before battens or cladding conceal the wall.
3. Product approval and supply
- Review water resistance, water-vapor transmission, tensile strength, tear resistance and exposure data together.
- Confirm roll width, overlap requirement, tape system, label, packing and sample approval before bulk production.