Technical Resources
Membrane Installation Control Points for Roof and Wall Systems
Site-control guidance for overlap direction, flashing integration, sealing and membrane protection before cladding or roof covering is installed.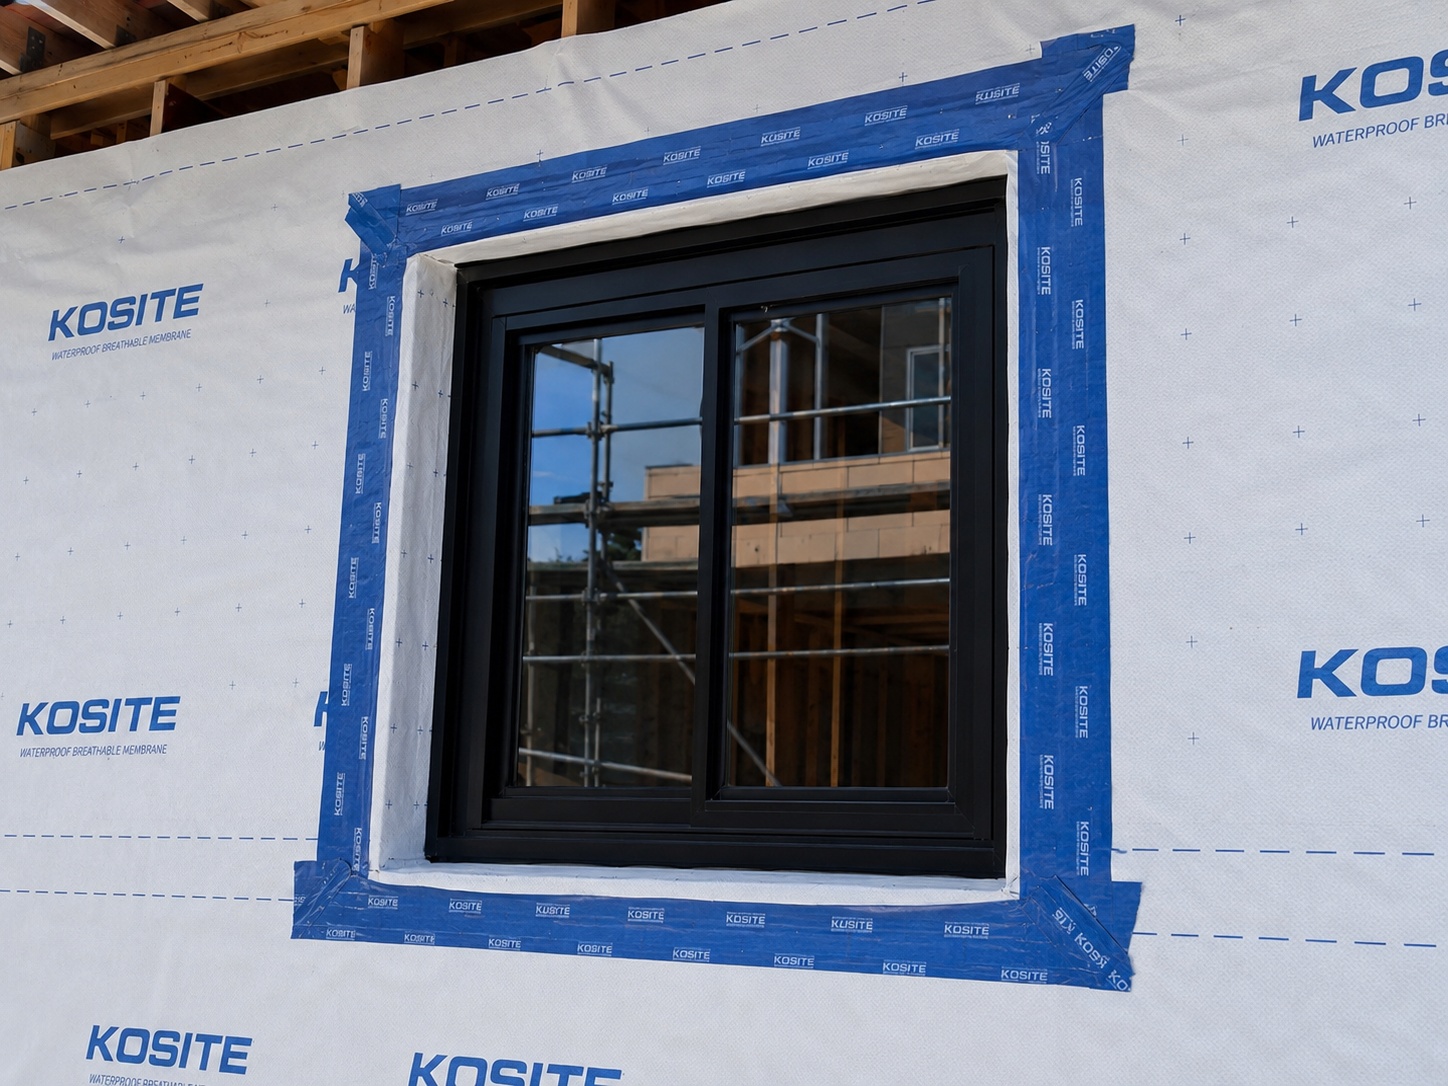
Key Points
A membrane can only manage water when its laps, edges and openings form one continuous drainage path. This page is a practical installation reference for project teams reviewing roof underlayment, wall housewrap or facade membrane work. Final lap dimensions, fastening and flashing details must follow the approved product instructions and project design.
- Install in a water-shedding sequence so upper laps drain onto the course below
- Maintain continuous membrane, flashing and tape treatment at openings and transitions
- Protect the installed membrane from damage and unnecessary exposure before the final covering is complete
Continuity before cladding
- Start from the lower area and maintain a shingle-style lap direction that drains outward
- Avoid reverse laps, loose edges and open cuts that can direct water behind the drainage plane
- Integrate window, door, roof-wall and penetration flashing so water is directed to the exterior
Site inspection points
- Confirm membrane orientation, roll condition and approved accessory compatibility before installation
- Check consistent laps, fastening and tape application across the work area
- Repair punctures or damaged sections before cladding or roof covering conceals the membrane
Installation points buyers should confirm before use
Membrane performance depends not only on the roll specification but also on site handling, overlap direction, fixing method and protection before final covering.
Before installation
- Confirm whether the membrane will be used as roof underlayment, wall housewrap or facade protection.
- Check roll direction, overlap width and fixing method according to the project detail.
- Avoid installing damaged rolls or rolls that were exposed to moisture during storage.
- For printed OEM rolls, confirm the visible side and roll direction before site distribution.
During installation
- Keep overlaps consistent and avoid reverse laps where water may be driven behind the membrane.
- Repair punctures, tears or sharp-edge damage before the final covering is installed.
- Limit unnecessary UV and weather exposure according to project requirements.
- Use compatible tapes, battens or fixing accessories where the system requires sealed joints.